SSL, HTTPS, and Domains: A Practical Deployment Guide
I explain the TLS handshake and certificate chain, then show the Certbot workflow and nginx config to get HTTPS running on a real domain.
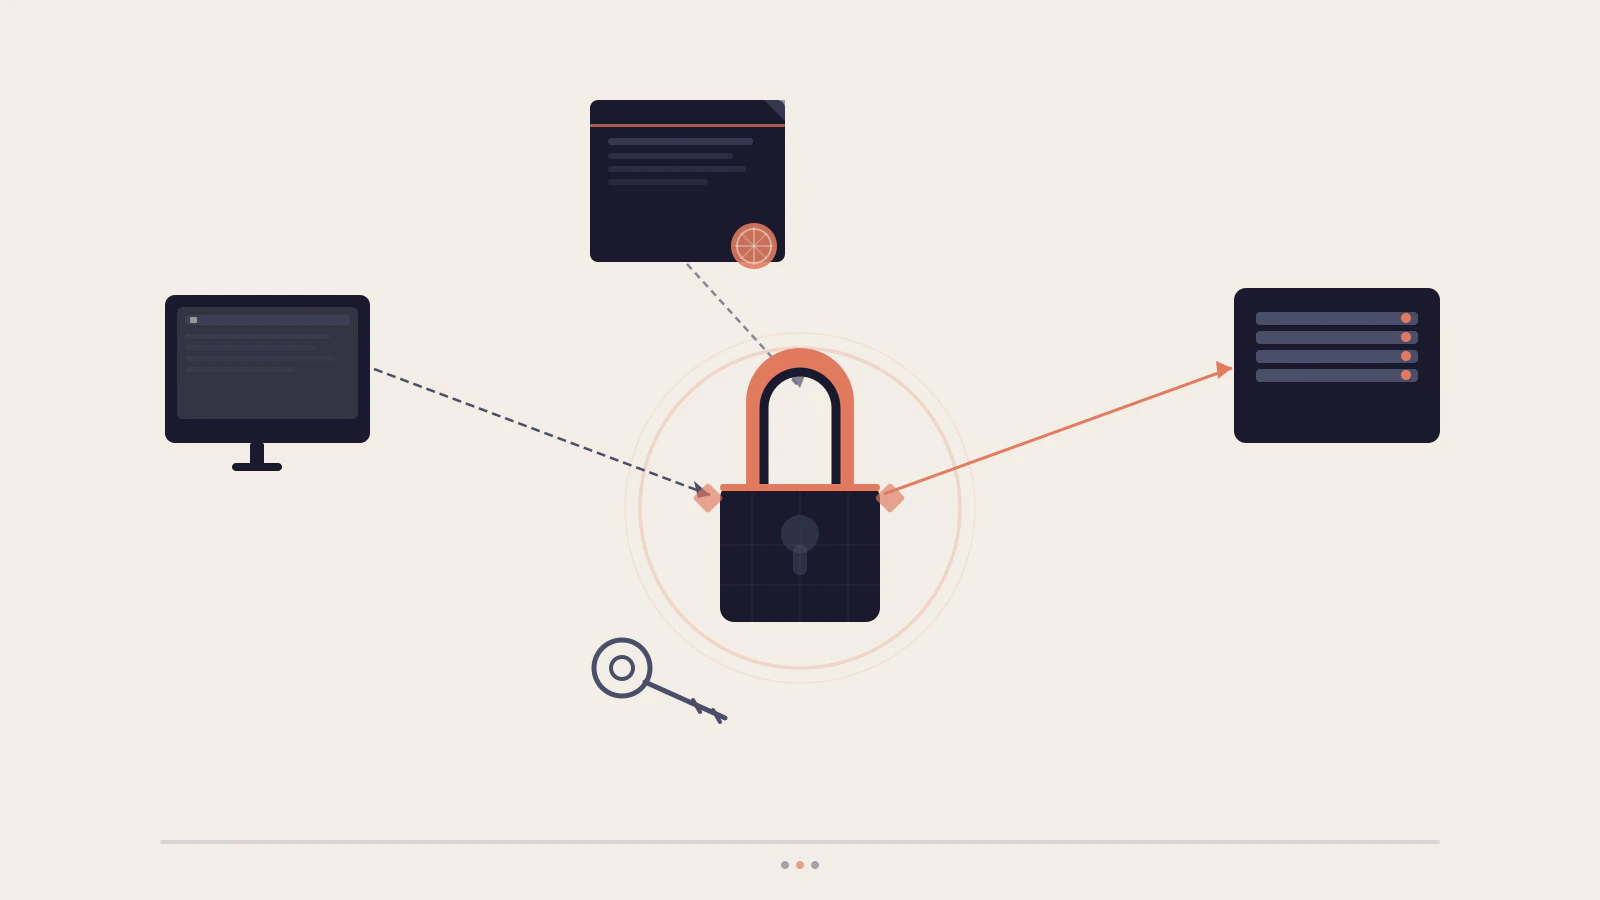
You’ve got a server running your app. The domain points to it. It works — over HTTP, with no padlock, with “Not secure” in the browser bar. That’s fine for a quick test, but not for anything real. Users see the warning, cookies without the Secure flag are exposed, and a growing number of browser APIs flat-out refuse to run on insecure origins.
Getting HTTPS working has a specific order that matters. DNS records have to be set before Certbot runs. The ACME challenge has to reach your server through your domain. And the HSTS header — which tells browsers to enforce HTTPS permanently — should be the last thing you add, not the first. Get the order wrong and you’ll either fail the certificate challenge or lock yourself out while your redirect is still broken.
Quick answer: Add an A record pointing your domain to your server’s IP, run
sudo certbot --nginx -d yourdomain.com, and update nginx with an HTTP-to-HTTPS redirect block. Certbot handles certificate issuance and auto-renewal automatically. Your full nginx config needs alisten 80block returning a 301 redirect and alisten 443 sslblock with the certificate paths Certbot creates at/etc/letsencrypt/live/yourdomain.com/.
On this page
- What the TLS handshake is actually doing
- CA-signed vs self-signed: why the browser refuses one
- Pointing your domain at your server with DNS records
- Getting a free certificate with Let’s Encrypt and Certbot
- Configuring HTTPS and HTTP redirect in nginx
- What breaks in practice
- HTTPS secures the channel, not the application
What the TLS handshake is actually doing
When a browser connects to https://yourdomain.com, it doesn’t start sending data immediately. It negotiates first. The TLS handshake runs before any HTTP traffic moves, and it does two things: it agrees on an encryption scheme and it verifies that the server is who it claims to be.
With TLS 1.3 (the current standard), the handshake completes in one round trip. The client sends its supported cipher suites. The server picks one, sends back its certificate, and both sides derive the shared session keys. Everything after that is encrypted.
The certificate is where your domain comes in. It contains your domain name, a public key, and a digital signature from a Certificate Authority. The browser checks that signature against its list of trusted CAs. If the check passes, the padlock appears. If it fails, the browser blocks the connection.
This is why the certificate step isn’t optional. HTTPS without a trusted certificate doesn’t produce a padlock — it produces an error page. The web fundamentals post covers the full request lifecycle if you want more context on how DNS, TCP, and TLS fit together before getting into the certificate setup.
CA-signed vs self-signed: why the browser refuses one
You can generate a certificate yourself in seconds:
openssl req -x509 -newkey rsa:4096 -keyout key.pem -out cert.pem -days 365 -nodesThis works for internal tools where you control every machine that connects — you can install the cert as a trusted authority on those machines directly. But for a public domain it triggers a hard browser block. Visitors see “Your connection is not private” (Chrome shows NET::ERR_CERT_AUTHORITY_INVALID). Modern browsers don’t offer a click-through for this on public addresses.
The reason: a self-signed certificate has no chain back to a CA the browser trusts. Anyone can generate a certificate claiming to be any domain. Without CA validation, the cert proves nothing about who controls the server.
A CA-signed certificate means a trusted third party confirmed you control the domain before issuing the cert. Let’s Encrypt is a free, open CA that’s trusted by all major browsers. It uses the ACME protocol to automate domain validation: it gives you a challenge, confirms you completed it, and issues the cert. Certbot is the ACME client that handles this entire flow from the command line.
Pointing your domain at your server with DNS records
Before Certbot can issue a certificate, it has to reach your server through your domain. That means DNS has to be set up first.
Two record types matter:
A record maps a domain name to an IPv4 address. You need this for the root domain:
yourdomain.com. IN A 203.0.113.10CNAME record maps a domain name to another domain name. For the www subdomain, you can point it at the root:
www.yourdomain.com. IN CNAME yourdomain.com.You can’t use a CNAME for the root domain itself — DNS doesn’t allow it. Some providers support an ALIAS or ANAME record as a workaround for apex domains, but an A record is what works everywhere.
DNS changes take time to propagate. After updating, run dig +short yourdomain.com before you run Certbot to confirm the IP is resolving correctly.
Try this
- Run
dig +short yourdomain.com Ain your terminal.- Compare the returned IP to your server’s public IP.
- Run
dig +short www.yourdomain.comand check the result.Expected result: Both queries should return your server’s IP. If
yourdomain.comreturns nothing or returns the IP of your previous host, the record hasn’t propagated yet. Wait and retry — running Certbot before this resolves will fail the challenge.
Getting a free certificate with Let’s Encrypt and Certbot
Certbot is the ACME client recommended by Let’s Encrypt. On Ubuntu or Debian, install it via snap:
sudo snap install --classic certbot
sudo ln -s /snap/bin/certbot /usr/bin/certbot
Before running Certbot, make sure nginx is already running with the correct server_name configured for your domain. Certbot’s --nginx plugin modifies the nginx config in place and handles the ACME HTTP-01 challenge by temporarily serving a file at /.well-known/acme-challenge/ on your domain to prove control.
Run Certbot with both domain variants so the certificate covers them:
sudo certbot --nginx -d yourdomain.com -d www.yourdomain.comCertbot asks for your email (for renewal reminders), prompts you to agree to the terms, then talks to Let’s Encrypt’s API. If DNS is resolving correctly and port 80 is reachable, it places the challenge file, waits for verification, and issues the certificate to /etc/letsencrypt/live/yourdomain.com/.
Two files matter after this:
fullchain.pem— your certificate plus the intermediate CA chainprivkey.pem— your private key (root access only)
Certbot also installs a systemd timer that runs certbot renew twice daily. Let’s Encrypt certificates expire after 90 days, so this automatic renewal is what makes them practical in production.
Test renewal without actually renewing:
sudo certbot renew --dry-runIf the dry run fails, fix it now — don’t assume it’ll work when the certificate actually expires.
Configuring HTTPS and HTTP redirect in nginx
After Certbot runs, your nginx config should contain two server blocks. Certbot may have modified the config automatically, but it’s worth understanding what each block does:
server {
    listen 80;
    server_name yourdomain.com www.yourdomain.com;
    return 301 https://$host$request_uri;
}

server {
    listen 443 ssl;
    server_name yourdomain.com www.yourdomain.com;

    ssl_certificate     /etc/letsencrypt/live/yourdomain.com/fullchain.pem;
    ssl_certificate_key /etc/letsencrypt/live/yourdomain.com/privkey.pem;
    ssl_protocols       TLSv1.2 TLSv1.3;

    add_header Strict-Transport-Security "max-age=31536000; includeSubDomains" always;

    location / {
        proxy_pass          http://localhost:3001;
        proxy_set_header    Host              $host;
        proxy_set_header    X-Real-IP         $remote_addr;
        proxy_set_header    X-Forwarded-For   $proxy_add_x_forwarded_for;
    }
}
The listen 80 block catches every HTTP request to your domain and returns a 301 redirect to HTTPS. $host preserves the original domain name; $request_uri preserves the path, so existing links don’t break.
The ssl_certificate directive points at fullchain.pem, not just cert.pem. The full chain includes the intermediate certificates between your cert and the root CA. Without them, some clients — particularly older ones or automated tools — fail validation even when browsers show a padlock. Using fullchain.pem is the correct choice.
The Strict-Transport-Security header (HSTS) tells browsers to never connect to this domain over HTTP, even if someone types http:// manually. The max-age value is in seconds — 31536000 is one year. includeSubDomains extends the policy to all subdomains.
One thing worth knowing about HSTS: add it only after you’ve confirmed both the redirect and the HTTPS block are working. Once a browser receives this header, it enforces HTTPS from its cache for the full max-age period. You can send max-age=0 to clear it, but browsers only honour that over a working HTTPS connection — if the cert is broken, you can’t reach HTTPS to clear it. The nginx reverse proxy post covers the full proxy configuration if you’re assembling the nginx setup from scratch.
Apply and reload:
sudo nginx -t && sudo systemctl reload nginxCheck this before moving on
-
sudo nginx -treports no errors -
https://yourdomain.comloads in the browser with a padlock -
curl -I http://yourdomain.comreturns301 Moved PermanentlywithLocation: https:// -
sudo certbot renew --dry-runcompletes without errors
What breaks in practice
Port 80 is blocked. The ACME HTTP-01 challenge reaches your server on port 80. If a firewall rule blocks it — even temporarily — the challenge fails and Certbot exits with an error. Open both port 80 and 443 before running Certbot. Port 80 still needs to stay open after setup so Certbot can complete renewal challenges.
DNS isn’t propagated yet. If your domain still resolves to the old server IP, the challenge reaches the wrong machine and fails. Run dig +short yourdomain.com before Certbot to confirm the IP matches your server.
Certificate issued for the wrong domain. If server_name in nginx doesn’t match the domain you pass to Certbot, the automated config may not land where you expect. Inspect what nginx has with sudo nginx -T | grep server_name before running Certbot.
HSTS added too early. If you add the HSTS header before the certificate and redirect are both confirmed working, and then the cert expires or nginx gets misconfigured, browsers with a cached HSTS policy won’t try HTTP — they’ll show a certificate error instead. Fix the HTTPS layer first, always.
Mixed content after the switch. After enabling HTTPS, hardcoded http:// URLs in your HTML, stylesheets, or JavaScript are blocked silently. The browser console shows mixed content warnings. Update those URLs to https:// or switch to relative paths.
| Symptom | Likely cause | Check first |
|---|---|---|
| Certbot challenge fails | Port 80 blocked or DNS not propagated | Firewall rules and dig +short yourdomain.com |
Cert doesn’t cover www |
Missing -d www.yourdomain.com flag |
Rerun Certbot with both domain variants |
| Browser still loads over HTTP | Redirect block missing or nginx not reloaded | curl -I http://yourdomain.com |
| HSTS blocks the page | Cert expired while HSTS is active | sudo certbot renew to restore the certificate |
HTTPS secures the channel, not the application
The padlock confirms two things: traffic between the browser and your server is encrypted, and the server’s identity matches the domain. It doesn’t mean the application is secure. Exposed endpoints, weak authentication, and missing security headers are application problems HTTPS doesn’t touch.
That said, HTTPS is a prerequisite for everything else. Cookies need the Secure attribute to be restricted to HTTPS. Content Security Policy, HSTS preloading, and mixed-content blocking all assume HTTPS is already in place. You can’t layer those protections on top of HTTP.
With Let’s Encrypt and Certbot configured, the certificate layer is largely hands-off. Renewal runs automatically before the 90-day expiry, and the nginx config you’ve built won’t need to change unless you add subdomains or migrate servers. For the full deployment picture — including provisioning the server, setting up a process manager, and deploying to AWS — the Node.js API on AWS guide covers what that infrastructure layer looks like.