Authentication vs Authorization: What's the Difference?
I break down authentication and authorization — who you are vs what you can do — covering sessions, JWTs, RBAC, and why OAuth 2.0 naming confuses everyone.
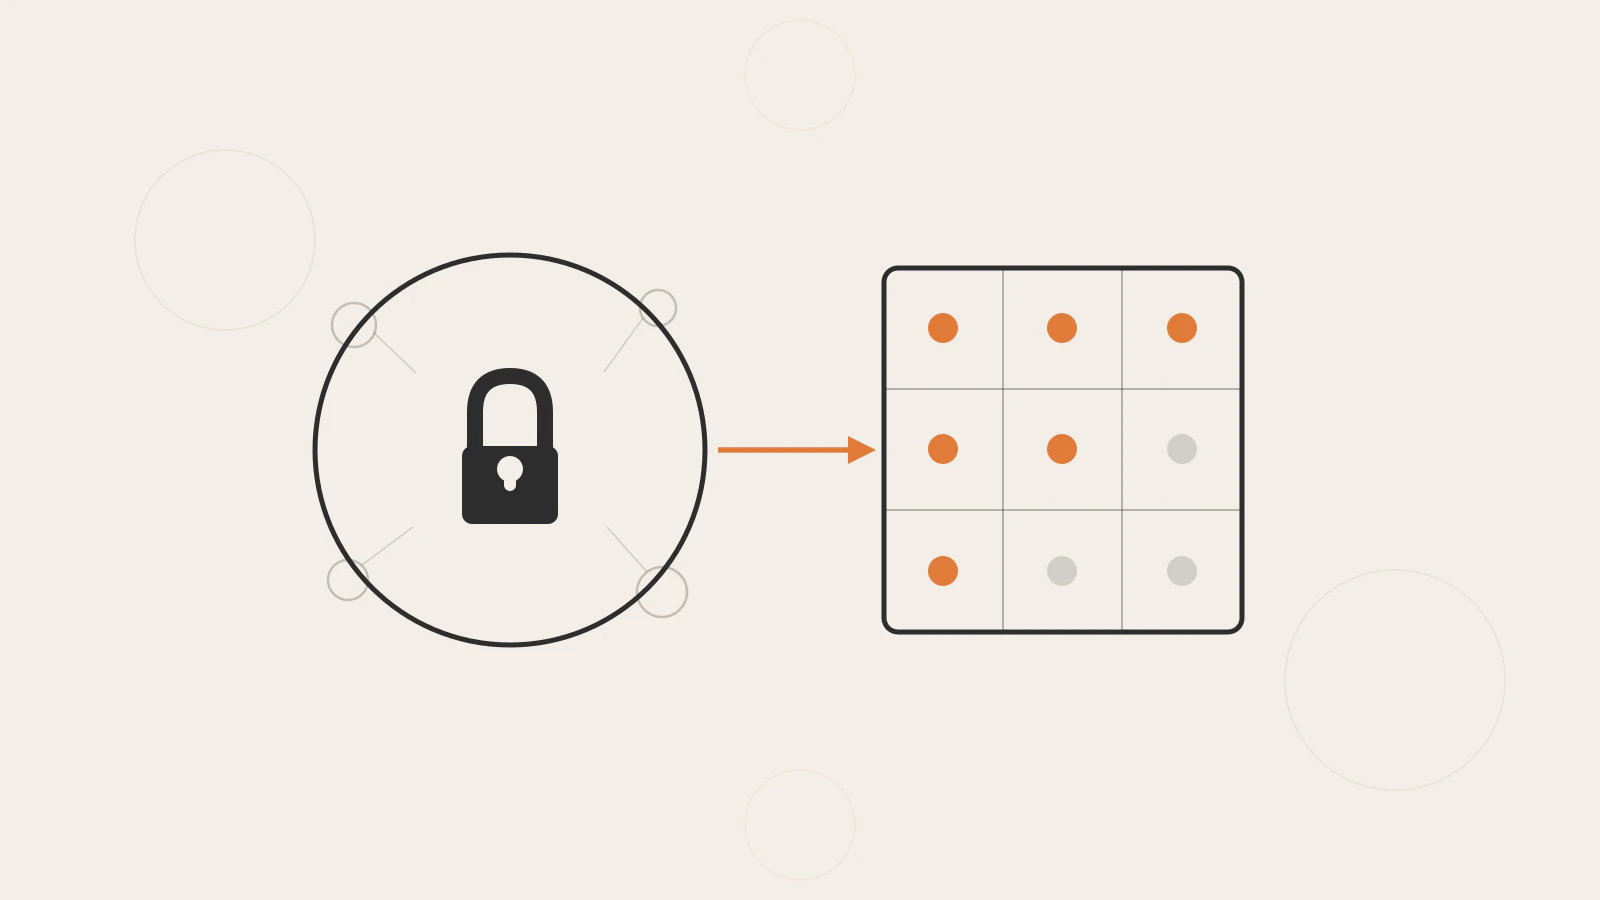
Look at any codebase long enough and you’ll spot the blur. The isAuthenticated check at the top of a middleware that also checks user roles. A 401 Unauthorized response when the real problem is a missing admin role. A route that validates a session but has no permission check at all.
Authentication and authorization get tangled in practice because they’re so tightly paired — you need one before the other — but they solve different problems. Confusing them doesn’t just produce imprecise language. It produces routes that check the wrong thing, APIs that return the wrong status code, and access controls that exist in the UI but not on the server.
I’m going to walk through both concepts, show you how sessions and JWTs fit into authentication, cover the main authorization models, and explain why the OAuth 2.0 naming trips almost everyone up at least once.
On this page
- The one-sentence difference
- Authentication: how an app knows who you are
- Authorization: deciding what you’re allowed to do
- How they connect in a real request
- Where the naming trips people up
- Think in two gates, not one
The one-sentence difference
Authentication is proving who you are. Authorization is deciding what you’re allowed to do.
They always happen in that order. You can’t decide what someone is permitted to do until you know who they are. An app that skips authentication but has authorization logic has nothing useful to check. An app that authenticates users but never checks their permissions lets every verified user do everything.
A concrete analogy: hotel check-in. At the front desk, you show your passport and the clerk confirms your identity — that’s authentication. Your key card is then programmed to open your room, the gym, and the pool, but not the executive floor conference rooms — that’s authorization.
| Authentication | Authorization | |
|---|---|---|
| Question | Who are you? | What can you do? |
| Timing | Once per login or session | On every protected request |
| Failure code | 401 Unauthorized |
403 Forbidden |
| Common tools | Passwords, sessions, JWTs, OIDC | RBAC, ABAC, policy rules |
The failure codes matter more than they might look. We’ll come back to them.
Authentication: how an app knows who you are
Authentication has one event and one persistent problem. The event is verification — the user provides credentials and the app confirms they match what’s stored. The persistent problem is that HTTP is stateless: every request starts fresh, so the server has no memory of previous requests unless you give it something to remember by.
Understanding how the request lifecycle works end to end helps here — that stateless nature is baked into the protocol design.
Sessions are the traditional solution. After a successful login, the server creates a session record, stores it somewhere — in memory, a database, or a cache — and sends a session ID back in a cookie. On every subsequent request, the browser sends that cookie automatically. The server looks up the session by ID, and if the record exists and hasn’t expired, it knows who you are. The session ID itself is opaque — a random string with no readable information, just a pointer to the server-side data.
Tokens flip this around. Instead of storing state on the server, the server signs a token containing identity claims and sends it to the client. JSON Web Tokens (JWTs) are the most common format. On every request, the client includes the token in the Authorization header. The server verifies the cryptographic signature to confirm the token wasn’t tampered with, then reads the claims directly from the token body. No database lookup needed.
Both approaches prove identity, but with different trade-offs. Sessions are straightforward to revoke: delete the record and the user is logged out immediately. JWTs don’t require a shared session store, which makes them easier to scale horizontally — but revoking a JWT before it expires requires extra infrastructure like a blocklist or a short expiration combined with refresh token rotation.
The Next.js authentication architecture post covers the implementation side of both patterns in detail, including how middleware, sessions, and server-side route protection fit together.
Authorization: deciding what you’re allowed to do
Once the app knows who the user is, authorization determines what they can see and do. The most common model is role-based access control — RBAC.
In RBAC, every user gets one or more roles. Each role maps to a set of allowed actions. The structure is predictable and easy to reason about:
type Role = "admin" | "editor" | "viewer";

const permissions: Record<Role, string[]> = {
  admin: ["read", "write", "delete", "manage-users"],
  editor: ["read", "write"],
  viewer: ["read"],
};

function can(role: Role, action: string): boolean {
  return permissions[role]?.includes(action) ?? false;
}
An admin can delete posts and manage users. An editor can read and write. A viewer can only read. The TypeScript union type on Role keeps those values from drifting — any unrecognised role produces a type error at compile time. If you’re new to why that matters, the TypeScript fundamentals post covers the basics.
Attribute-based access control (ABAC) is more flexible but also more complex. Instead of fixed roles, ABAC evaluates access based on a combination of attributes: who the user is, what the resource is, and what the current context is. An ABAC policy might say: “allow access to salary records if the user’s department is HR and the request is coming from the corporate network.” RBAC can’t express that cleanly without creating very specific roles for every combination. ABAC can, but the policies become harder to reason about as they accumulate.
For most web apps, RBAC with a small, well-named set of roles is the right starting point. ABAC becomes relevant when access rules need to vary along multiple independent dimensions simultaneously.
One principle that applies equally here and in state management: keep your authorization logic as close to the data it protects as possible. The state management post covers that same idea from the React side — logic should live near what it governs, not in a layer far above it.
How they connect in a real request
In practice, authentication and authorization live as separate middleware functions chained on a protected route. Keeping them separate means you can reuse each one independently across different routes.
// Express middleware — simplified for clarity
function authenticate(req, res, next) {
  const token = req.headers.authorization?.split(" ")[1];
  if (!token) return res.status(401).json({ error: "No credentials provided" });

  try {
    req.user = verifyToken(token); // Validates the JWT signature and decodes claims
    next();
  } catch {
    return res.status(401).json({ error: "Invalid or expired token" });
  }
}

function authorize(requiredRole) {
  return (req, res, next) => {
    if (!req.user?.roles.includes(requiredRole)) {
      return res.status(403).json({ error: "Insufficient permissions" });
    }
    next();
  };
}

// Both checks run in sequence before the handler
app.delete("/posts/:id", authenticate, authorize("editor"), deletePost);
The authenticate middleware returns 401 when the token is missing or invalid — the client needs to establish identity first. authorize returns 403 when the identity is confirmed but the role isn’t sufficient — the server knows who you are, it just won’t allow that specific action.
Reversing these codes is a common mistake: sending 403 when credentials are missing (a 401) or sending 401 when a role check fails (a 403). The wrong status code confuses API clients, breaks front-end error handling, and makes debugging slower.
Check this before moving on
- Missing or invalid credentials return
401, not403 - A failed role or permission check returns
403, not401 - Authentication and authorization are separate checks, not one combined middleware
Where the naming trips people up
OAuth 2.0 is an authorization framework — its name says exactly that. It was designed so users can grant third-party apps limited access to their resources without sharing their passwords. But most developers first encounter it as “Sign in with Google,” which feels like authentication.
That’s where OpenID Connect (OIDC) comes in. OIDC is an authentication layer built on top of OAuth 2.0. It adds the ID token — a signed JWT containing verified claims about who the user is. When you add social login to an app, you’re using OIDC for authentication, running on top of OAuth 2.0 for authorization. Most libraries handle both transparently, which is why developers say “OAuth login” when they technically mean “OIDC authentication over an OAuth 2.0 transport.”
The HTTP Authorization header creates its own confusion. The header carries credentials for authentication work — it’s proving identity — but it’s named for authorization. That naming comes from the original HTTP specification design, and it has been confusing developers ever since. The rule: the header’s name doesn’t change what it’s actually doing.
The most dangerous confusion is substituting UI visibility for server-side authorization. An admin button hidden with CSS is a convenience, not security. The DELETE route that button calls still needs its own 403 check on the server. The UI can be bypassed with a direct API request — the server cannot.
| Common mistake | What it looks like | What to do instead |
|---|---|---|
| UI-only authorization | Admin panel hidden in CSS, but the API route is open | Add role checks to every protected route handler |
| Wrong status code | 403 returned for a missing token |
Return 401 when credentials are absent, 403 when permissions are denied |
| Treating OAuth as authentication | Using the access token alone to prove identity | Use the OIDC ID token for identity; use the access token for resource access |
| Revoking a JWT by deleting from DB | User still has a valid token until expiry | Use short expiry + refresh token rotation, or maintain a blocklist |
Think in two gates, not one
The clearest mental model for keeping these straight: every protected endpoint passes the request through two gates in sequence.
The first gate is identity. Does this request carry valid credentials the server can verify? If not, 401 — come back with proof of who you are. If yes, record the identity and continue.
The second gate is permission. Can this identity perform this specific action on this specific resource? If not, 403 — you’re known, but not allowed here. If yes, proceed.
Both gates must exist on the server. A gate that only exists in the client — a hidden button, a disabled form field, a conditional render — isn’t a gate. It’s a suggestion.
The next question for most developers is how JWTs are actually constructed, signed, and validated — that goes deeper than what this post covers and gets its own treatment later in this series. For the full session and middleware implementation in a production Next.js app right now, the authentication architecture post is the right next stop.